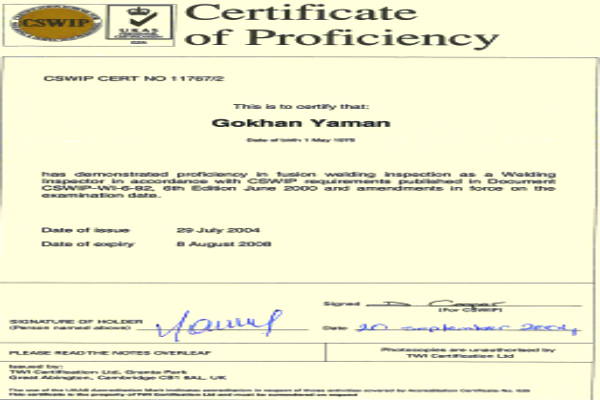
CSWIP Welding Inspector Certificate-2004-2008
Welding inspectors are employed to assist with the quality control (QC)activities necessary to ensure that welded items meet specified requirements and are fit for their application. For employers to have confidence in their work, welding inspectors need to understand/interpret the various QC procedures and also have a sound knowledge of welding technology. Visual inspection is one of the non-destructive examination (NDE) disciplines and for some applications may be the only form. For more demanding service conditions, visual inspection is usually followed by one or more of the other non-destructive testing (NDT) techniques - surface crack detection and volumetric inspection of butt welds. Application Standards/Codes usually specify (or refer to other standards) that give the acceptance criteria for weld inspection and may be very specific about the particular techniques to be used for surface crack detection and volumetric inspection; they do not usually give any guidance about basic requirements for visual inspection.
The relevant standards, rules and specifications that a welding inspector should be familiar with at the start of a new contract are all the documents he will need to refer to during the fabrication sequence in order to make judgements about particular details.
Typical documents that may need to be referred to are:
The Application Standard (or Code): For visual acceptance criteria: Although most of the requirements for the fabricated item should be specified by National Standards, client standards or various QC procedures, some features are not easy to define precisely and the requirement may begiven as to good workmanship standard.
Quality plans or inspection check lists: For the type and extent of inspection.
Drawing: For assembly/fit-up details and dimensional requirements.
QC procedures: Company QC/QA procedures such as those for document control, material handling, electrode storage and issue, Welding Procedure Specifications, etc.
Examples of requirements difficult to define precisely are some shape tolerances, distortion, surface damage or the amount of weld spatter.
Good workmanship is the standard that a competent worker should be able to achieve without difficulty when using the correct tools in a particular working environment.
In practice, the application of the fabricated item will be the main factor that influences what is judged to be good workmanship or the relevant client specification will determine what the acceptable level of workmanship is.
Reference samples are sometimes needed to give guidance about the acceptance standard for details such as weld surface finish and toe blend, weld root profile and finish required for welds that need to be dressed, by grinding or finishing.
A welding inspector should also ensure that any inspection aids that will be needed are:
- In good condition.
- Calibrated as appropriate/as specified by QC procedures.
- Safety consciousness is a duty of all employees and a welding inspector should:
- Be aware of all safety regulations for the workplace.
- Ensure that safety equipment that will be needed is available and in suitable condition.
The CSWIP3.1 Welding Inspector course provides an introduction to a wide range of topics related to Welding Inspection and Quality
- Welding defects. Mechanical testing.
- Main welding processes. Welding symbols.
- Non-destructive testing. Inspection reporting.
- Welding terminology. Welding safety.
- Heat treatments. Weldability of steels.
- Joint design. Welding procedures.
- Welder qualification. Stress and distortion.
- Macro examination. Codes and standards.
- Welding consumables. Thermal cutting.
- Course Contents Visual inspection
- Drawings Weld repairs Pressure tests
- Load tests Welding processes
- Preheat Interpass temperature Material
- Destructive testing Documentation records

